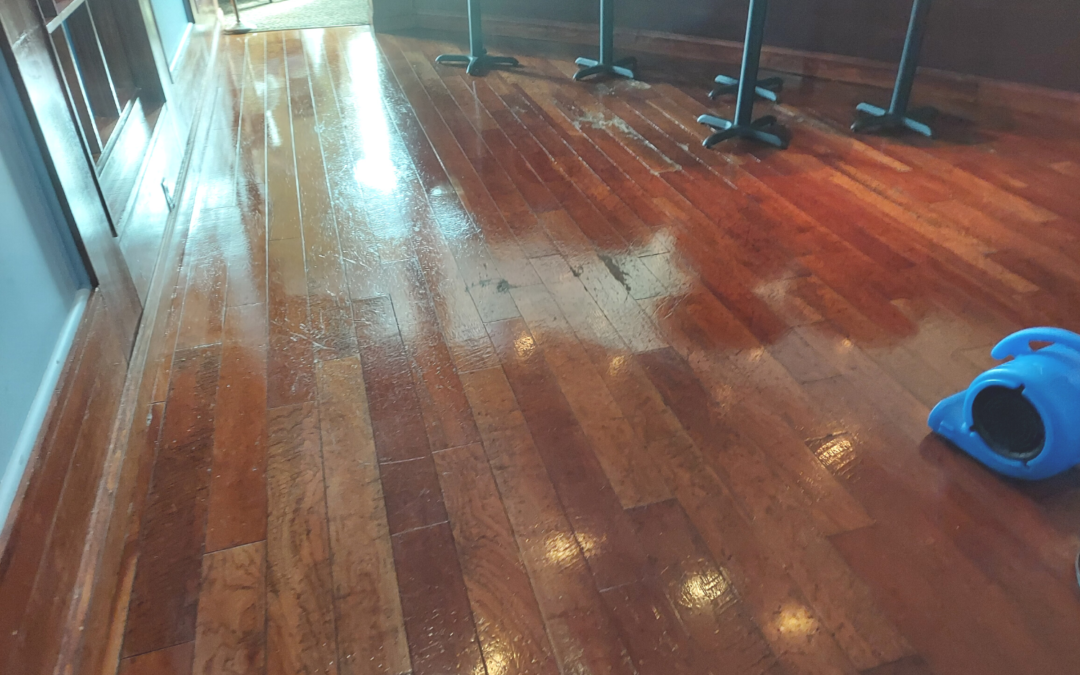
HOW TO FIX SCRATCHES ON WOOD FLOORS
Wood floors are an elegant and beautiful addition to any home, but they are also prone to scratches and other damage from everyday wear and tear. Scratches on wood floors can be unsightly and can detract from the overall appearance of your home. Fortunately, there are a few simple steps you can take to fix scratches on wood floors.
Step 1: Determine the Severity of the Scratch
Before you start fixing scratches on your wood floors, you need to determine the severity of the scratch. If the scratch is only surface-level, you can usually fix it with a simple touch-up pen or marker. If the scratch is deeper, you may need to use a wood filler to repair it.
Step 2: Clean the Area
Next, you will need to clean the area around the scratch. Use a soft cloth or a vacuum cleaner to remove any dust or debris from the scratch. Make sure the area is completely clean and dry before proceeding.
Step 3: Apply the Touch-Up Pen or Marker
If the scratch is only surface-level, you can use a touch-up pen or marker to fix it. These products are available in a variety of colors and can be found at most hardware stores. Choose a color that closely matches the color of your wood floor and apply the product to the scratch. Allow it to dry completely before walking on the area.
Step 4: Use Wood Filler for Deeper Scratches
If the scratch is deeper, you will need to use a wood filler to repair it. Wood filler is a product that is designed to fill in gaps and cracks in wood surfaces. It is available in a variety of colors and can be found at most hardware stores. Choose a color that closely matches the color of your wood floor and apply the filler to the scratch. Use a putty knife to smooth out the filler and remove any excess. Allow the filler to dry completely before sanding it down and applying a finish to the area.
Step 5: Sand and Finish the Area
Once the filler has dried completely, you will need to sand the area down to make it smooth. Use a fine-grit sandpaper and sand the area until it is level with the surrounding wood. Wipe away any dust or debris with a soft cloth or vacuum cleaner.
Finally, apply a finish to the area. This will help to protect the wood and give it a polished appearance. Choose a finish that matches the finish on your existing wood floors and apply it to the area using a paintbrush or roller. Allow the finish to dry completely before walking on the area.
In conclusion, fixing scratches on wood floors is a simple process that can be completed in just a few easy steps. By following these steps, you can restore the beauty and elegance of your wood floors and keep them looking great for years to come.
Floor Cleaning Topics:
- How to clean your sofa
- Steam Carpet Cleaning -Summit NJ
- How to dry carpet after cleaning
- How to get rid of odor in carpets
- Basement water damage -steam carpet cleaning
- Lear how to clean wood floor
- Why should i choose professional carpet cleaner
- Best Homemade carpet cleaner
House cleaning Topics:
- Why is cleaning my oven important?
- How to Clean and disinfect your apartment
- How to get rid of and prevent Bathroom Mold
- How to perform a general Kitchen cleaning
Looking for a Specialist Floor Cleaning Company near you?
General Questions
How expensive is Clean & Recoat?
Prices will vary but typically a contractor will charge you less than what they would charge you for sanding and refinishing the floor. Pricing will depend on how much time they spend cleaning a floor, the type of finish they use and the number of applications of finish they make. Get several estimates but pay careful attention to how long they will take, how they will prep the surface and the type of finish they will use.
Is this a dusty, smelly process?
The smell of the chemicals used to clean the floors is comparable to typical household cleaners and are not toxic or hazardous. The buffers we use have dust containment systems attached to vacuums to minimize any dust from prep work. We only work with waterborne urethanes that have no offensive odors. Done correctly, Clean & Recoat is the least invasive recoating process on the market today.
How log will a Clean & Recoat last?
With proper care and maintenance and by following a common sense approach to reduce wear and damage, a floor that’s been recoated can give you years of excellent service. I’ve seen floors that I recoated more than ten years ago that are still in very good shape. Most floors that are being recoated will be getting a waterborne finish and these finishes are very good and easily maintained.
What is Laminate Flooring?
Laminate flooring is a tongue and groove interlocking flooring system that comes in either planks or squares. All of these floors have a wear layer, a decorative print film layer, an inner core structure, and some type of backing support layer — usually melamine. The print film layer is either fused or glued to the inner core. The print film can be a photo of any real floor. The earlayer is applied to the decorative print layer to protect the pattern. Melamine resins are the main component of the wearlayer. The melamine surface gets its incredible durability from aluminum oxide. Aluminum oxide is almost as hard as diamonds and provides unsurpassed wear and stain resistance.
What is Engineered Flooring?
Engineered flooring is produced by bonding three or more layers of wood. The crossing of grain direction within the boards makes this a very dimensionally stable product able to resist nearly all expansion and shrinkage from normal moisture changes. This is one primary feature that makes it suitable for use directly on concrete and below-grade application.
Will my floor age or change color?
Yes. You can expect to see shade differences in your floor over time. The cause is usually from exposure to the ultra-violet rays of the sun, whether direct or indirect. This color change will be more noticeable in lighter colors, which will darken over time. In addition, certain species like Brazilian cherry, will naturally darken over the years. These changes are due to the natural characteristics of wood and are not covered by most manufacturers’ warranties.
What is Custom Finishing?
Sanding and refinishing performed to individual specifications. Custom finishing of wood floors is performed in the home on the completely installed new floor, or to refurbish a previously finished floor. Custom finishing permits the owner to select from a full range of stains, sheens and colors.
Residential Wood Floor Cleaning
Commercial Wood Floor Cleaning
